Popcorn ceilings, a textured coating popular in homes from the 1950s to the 1980s, can give a room an outdated and dark appearance. However, there’s good news – you can easily remove this texture to uncover a smoother surface underneath. Here’s a step-by-step guide on how to do it.
During the specified period, especially in bedroom ceilings, a rough and streaked texture known as “popcorn” became a common choice for many new homes. It was favored for its sound-deadening properties and its ability to hide ceiling imperfections, making it convenient for professional architects. However, the downside to popcorn ceilings is that they do not reflect much light, resulting in a dimmer room ambiance. Moreover, many homeowners find them unattractive.
Thankfully, getting rid of popcorn ceilings is a straightforward process, though it can be messy and require some effort. Despite the laborious undertaking, the results of the remodeling project make it entirely worthwhile. By removing the popcorn texture, you can refresh the room’s look and create a brighter and more modern space.
The first step.
Before doing anything else, it’s crucial that you have the popcorn tested by an EPA-approved lab. In homes built before 1982, asbestos was the main ingredient in the texture of the sprayed ceilings. If it is found to contain asbestos, it is highly recommended to hire a professional who is trained and licensed to handle hazardous materials. On the other hand, if an inspection shows a ceiling with paper popcorn trim, you can remove it yourself. However, since this is a water-based operation, it is wise to turn off the power to the room you are working in.
Step two.
There is nothing left for you to do. The only way to remove a popcorn ceiling is to create a mess. However, by properly preparing the room beforehand, you can minimize the cleanup after the project is complete. After you have removed all the furniture from the room, cover the floor and the bottom 16 inches of each wall with thick plastic sheeting. Secure the sheeting with masking tape.
The upper walls must also be protected. Tape around the perimeter of the room, 1/4 inch below the ceiling. Secure it with more tape on top of that. Ceiling fixtures may be in the way at this point, so if there are ceiling fans, center molding or hanging light fixtures, it is recommended that they be removed at this stage.
Step Three.
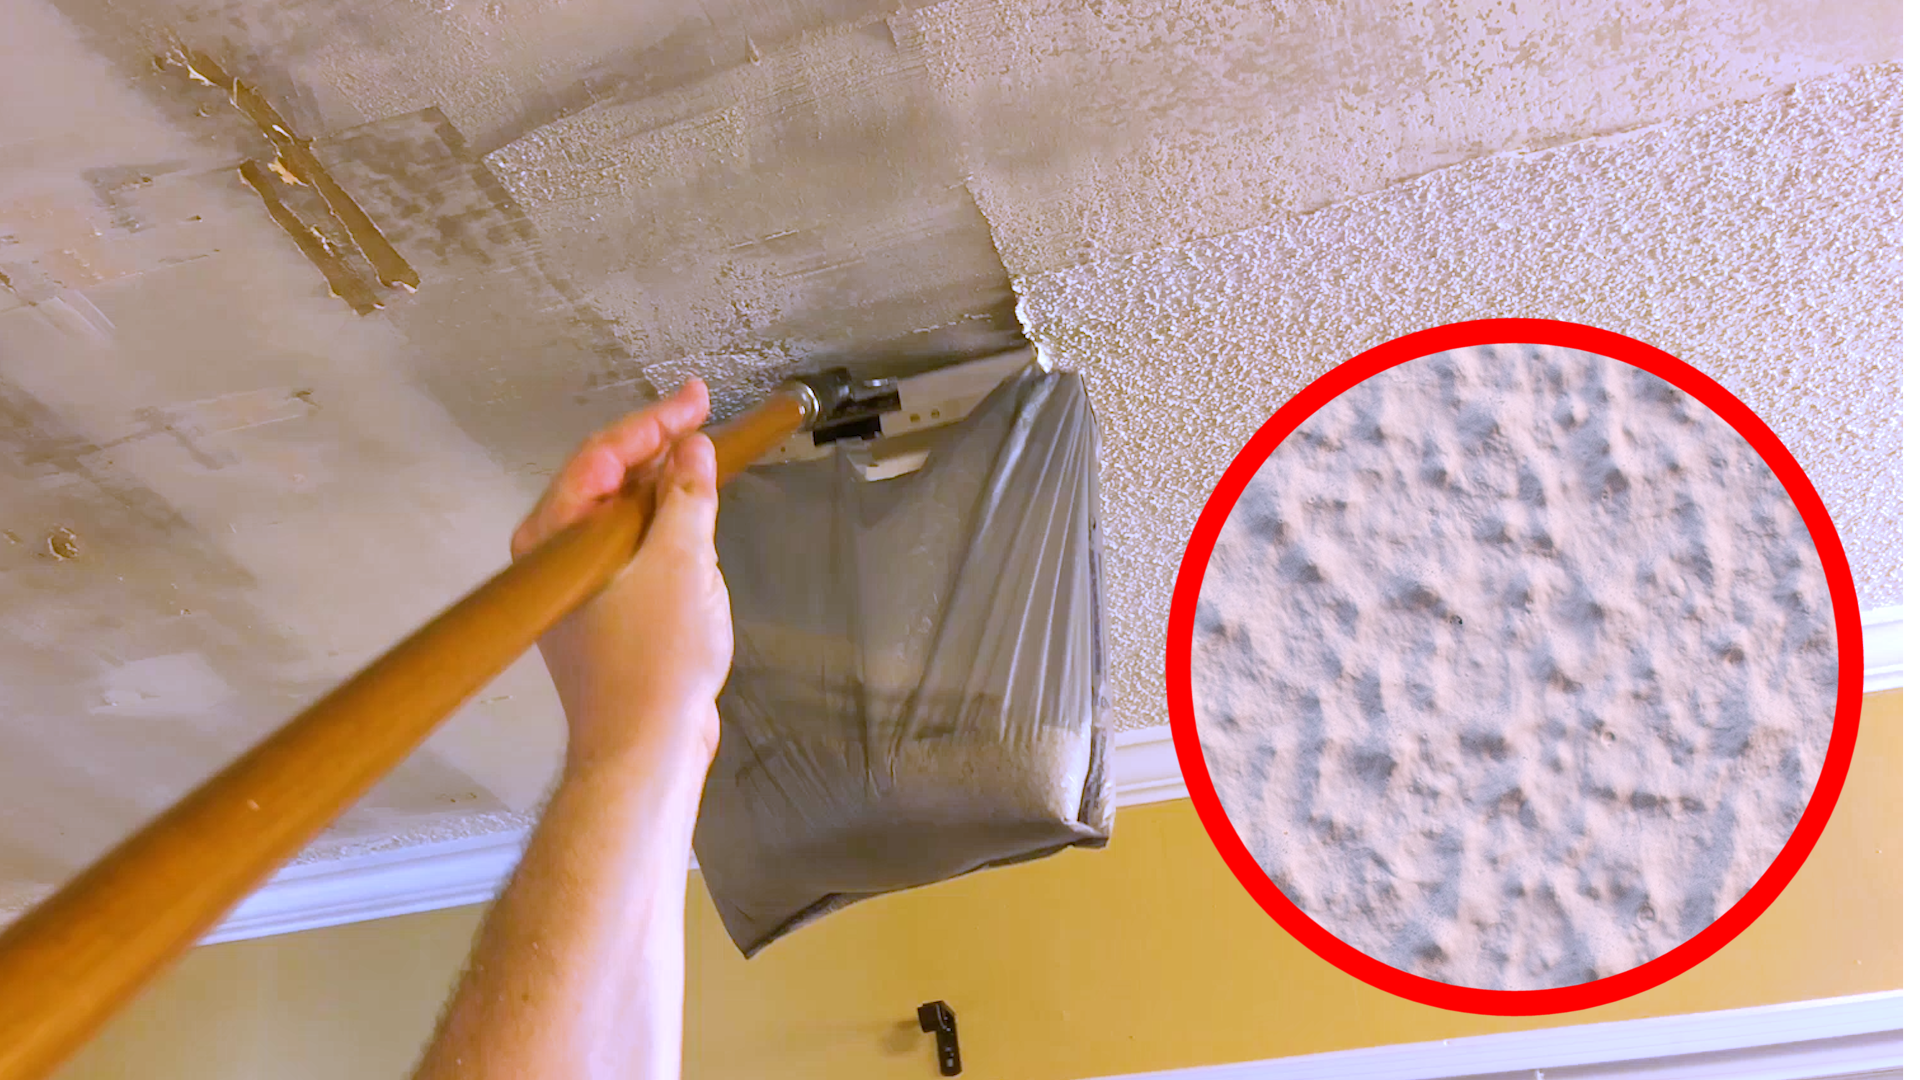
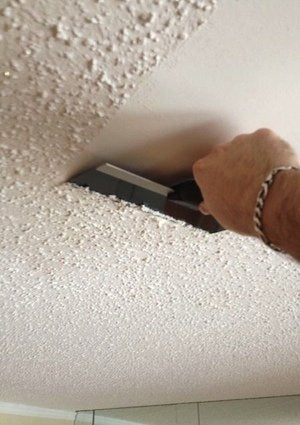
Divide the ceiling into 4-foot-square sections. Then, using a garden sprayer, thoroughly wet the first section and allow the water to soak in for 10-15 minutes. Once you have enough time, place a ladder under the damped section, put on a dust mask and safety glasses, and climb up the ladder. Place the putty knife at a 30° angle to the ceiling and begin scraping off the popcorn. The method is spray, wait and scrape. Work in this manner, one section at a time, around the room.
Step four.
Continue until you have removed the popcorn ceiling, exposing the drywall surface below. Now that you have prepared the room by covering the walls and floor with plastic sheeting, you may wish to prime and paint the ceiling. In this case, remove the sheeting after the final topcoat has dried. However, don’t forget to install the ceiling and restore power. You’ll notice that everything looks brighter in a space without popcorn. Don’t you agree? Please enjoy.