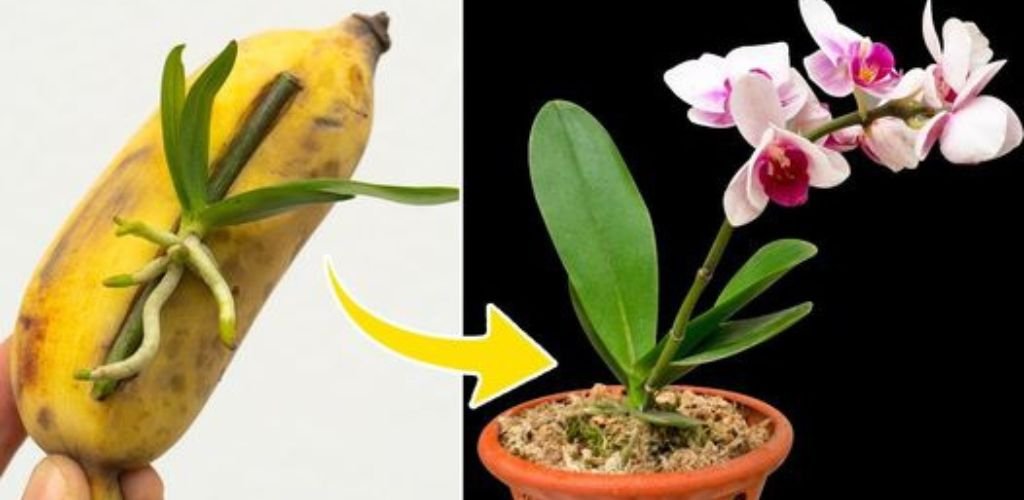
How to quickly and easily propagate an orchid at home? Simply with a banana peel. Here is the procedure to follow.
Aesthetically very beautiful, elegant and sophisticated, orchids are probably the most sophisticated indoor plants. Although they are minimalist plants, their flowers are capable of truly coloring and embellishing any environment. Their care requires some attention but is not particularly difficult. In fact, it is possible to spread that idea at home in a few simple steps and with a few natural ingredients. Let’s see how to do it.
How to propagate an orchid indoors
Propagating an orchid indoors may seem like a difficult task. Actually all you will need is a wilted branch of an orchid that may look almost dead, a small banana, some ground cinnamon, a clove of garlic, some moss, a candle, a plastic bottle, and some water. . The process is simple and only requires a little time and patience for the orchid to take root.

First you need to locate the branch to be cut. It is best to choose a bouquet without flowers or buds . Cut it off from the rest of the plant and trim back the ends until the bright green interior shows. Our new orchid plant will start from this twig. At this point it is necessary to peel a clove of garlic and use it to introduce the tips of the twig inside. You will have to use the garlic clove to massage the two green sides of the branch well. This will help prevent mold or fungus from forming and prevent the branch from rotting.
Now take a candle and light it. When the wax begins to flow, use it to seal the ends of the branch . It may seem like a practice that prevents the plant from breathing or sprouting, in reality this technique will serve to prevent our branch from losing water. Now that you’ve prepared the branch for propagation, all that’s left is to move on to the procedure.
The propagation process
Take your small banana, peel it, and put both the fruit and the peels in a blender. Then add a liter of water and blend everything well . When you have obtained a liquid compound, equip yourself with a strainer and filter the obtained substance into a jar .

This liquid will act as an activator for the twig, which will be completely submerged for at least 20 minutes in an airtight container. Meanwhile, pour a teaspoon of cinnamon and a liter of boiling water in another container. Mix this mixture well and allow it to cool down.
Once it has reached room temperature, proceed also in this case by filtering everything well . The mixture of water and cinnamon will serve as a disinfectant for the moss in which we are going to put our future orchid. Then dip the moss into the mixture and let it soak for 20 minutes . After this time, drain it well and let it dry on a paper towel.
Now all you have to do is create your own miniature greenhouse where you can place the orchid sprig . Take a large water bottle and cut it a third from the bottom, leaving a part together so that it can be opened and closed again.

At the bottom of the bottle we put some pebbles that will serve as a drain so that the water does not stagnate. Then the moss is added on top and the orchid twig is placed horizontally, moistening it with the same water in which it was submerged.
Mist thoroughly with a little water and close bottle to maintain moisture. Continue misting regularly and after a couple of weeks you will see the first sprouts . The advice is to keep the branch in the DIY greenhouse for at least a couple of months , after which you will have a rooted seedling ready to be buried in the Bark.

